I didn't think it would be long before this little cutie became a finish instead of a WIP, and I was right (although it's taken me a few weeks to post about it due to taking a long time to fully-finish it off). Over the half-term school holiday (last week of October) I was able to put in some long stints and stitch later into the night (read early mornings) than I would normally. Half-term couldn't have been more appropriately timed for completing this piece!
Here's how I left A Shower after ten hours:

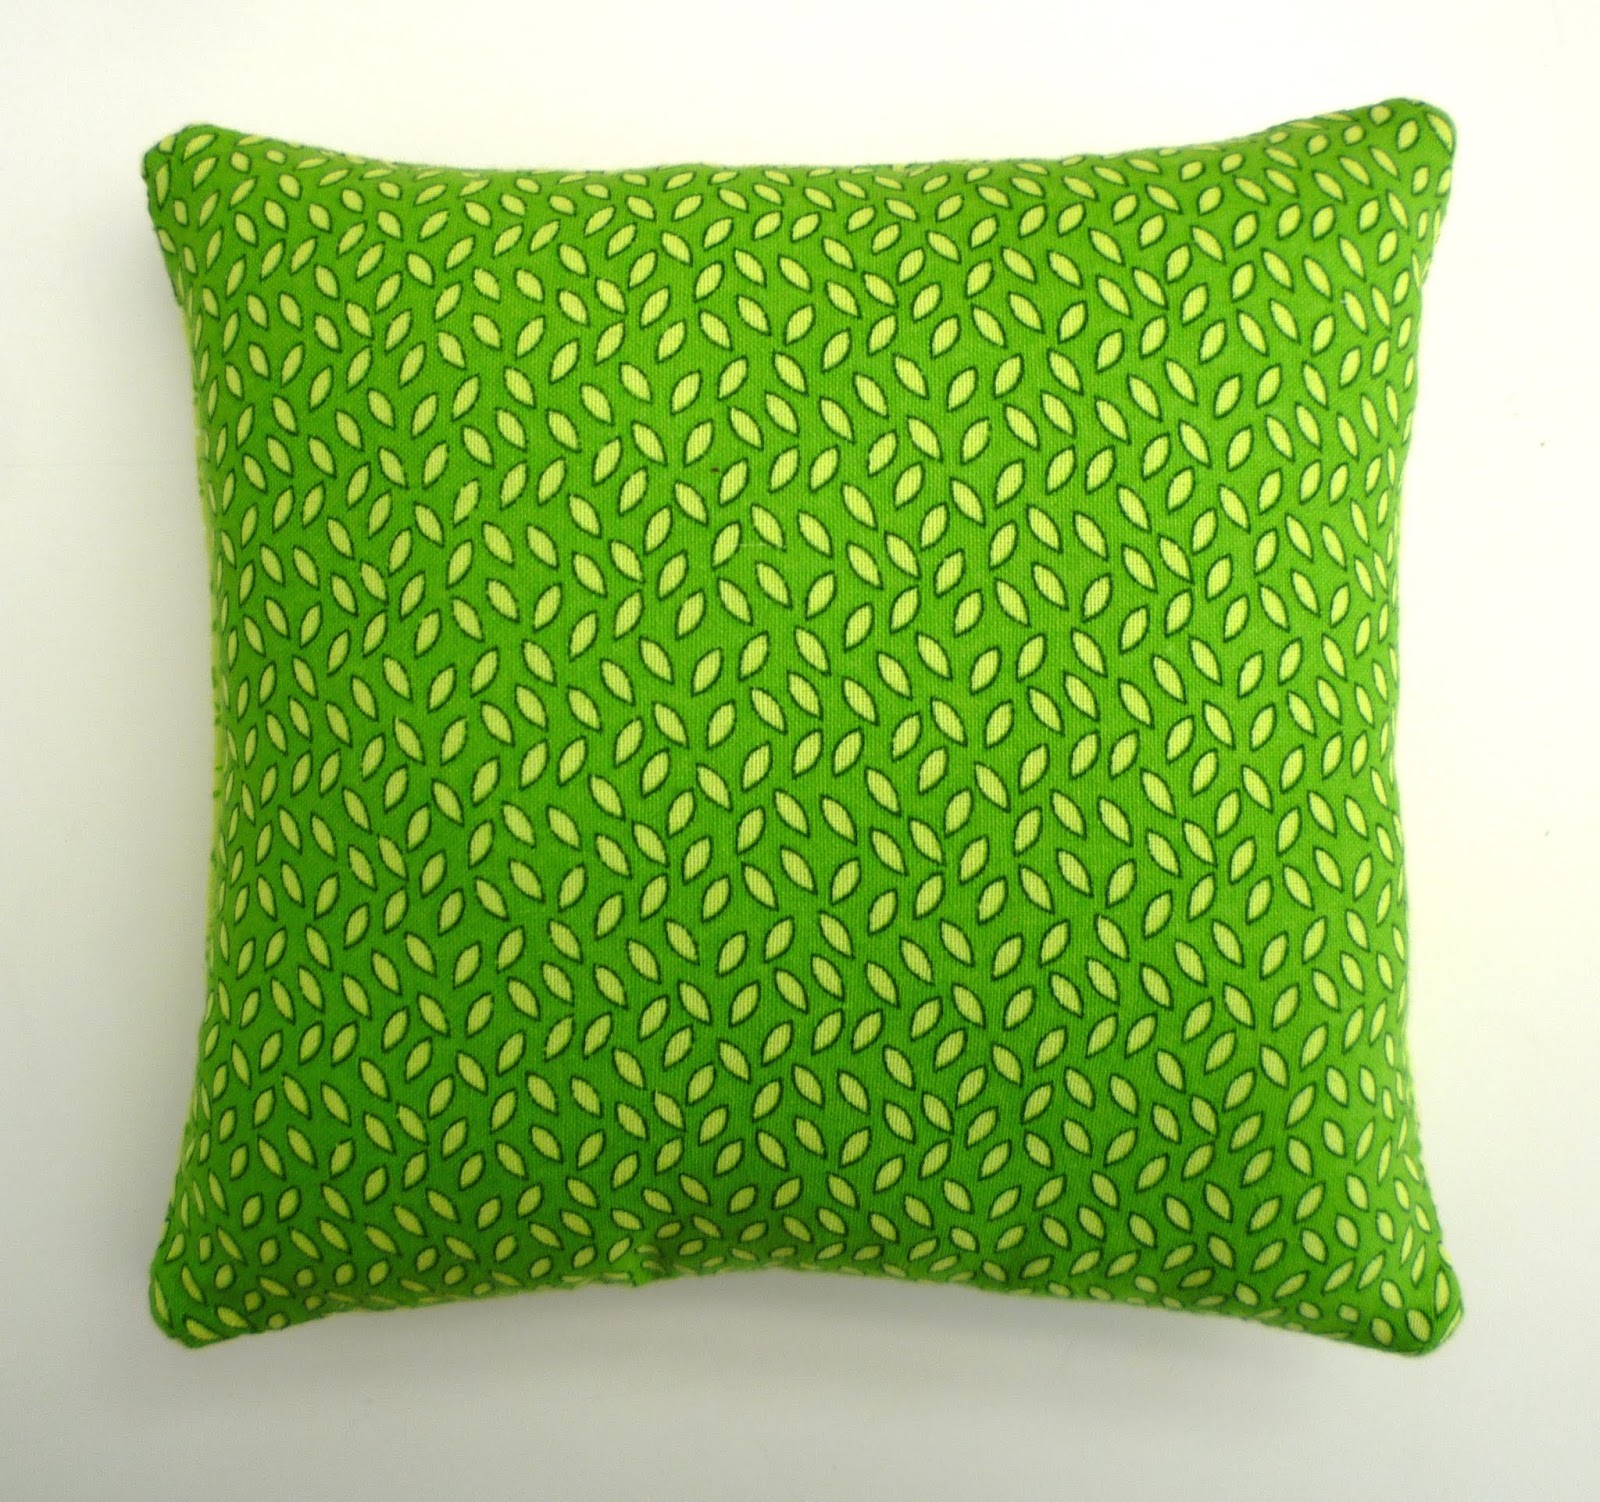
And finished:


Stitched on 16ct Margarita over-dyed aida by sewitall.com 2 over 1
Stitch count 60 wide by 53 high
Started - 28th September 2018
Finished - 27th October 2018
Total stitching time - 19 hours 30 minutes
I don't usually take any photos before adding backstitching but thought I would with this piece just to remind myself what a difference it can make.

How's this for starters:


But there's more - the final finishing touch...


... complete with a tiny bow:

The fabric is from a Hobbycraft green-toned FQ bundle, and the ribbon is plain 10mm lime organza.
[For those of you in the UK who need backing fabric, might I suggest you check out the FQ bundles at Hobbycraft (in store and on line). I've picked up quite a few in various colour tones and themes. They're very reasonably priced and not bad quality either.]
I think having the fabric showing on the front to give the design a border really works. And as for the ribbon, well, I will totally understand and not be offended at all if you say you don't like it, but I think it works in adding that finishing touch.
All of the fabric borders were stitched on by hand and took three attempts before I was happy. And as for the ribbon, that also took two failed attempts to work out how to gather and attach it before I came up with what I considered to be an easy, but time-consuming, solution. It took a lot of ribbon though - almost 5m for a 72cm perimeter! Not that it needed to be gathered so much, but less didn't quite look right.
If I do finish an ornie like this again I would definitely create a bigger fabric border but that's about the only thing I'd change.
If you're interested I took step-by-step photos along the way which I would be willing to share as a sort of tutorial. I didn't want to bore you with them here but let me know if you'd like to see them and I'll do a separate post at some point to let you in on my secrets. ;)
Take care,
Rachel x
Congrats on the outstanding finish Rachel. I absolutely love everything about it. Green is my favorite color. I would love to see the tutorial.
ReplyDeleteLinda
Cute ornament with the perfect finish! Yes, I would like to see the tutorial.
ReplyDeleteLove your finished pillow and that backstitch just makes the picture pop. So cute. What's next on your list to stitch I wonder! Happy stitching!!
ReplyDeleteSo cute and the prefect fabric and ribbon.
ReplyDeleteIT turned out beautiful Rachel! I just LOVE it and the extras you added it make it perfect!!
ReplyDeleteI think the tutorial would be a great addition to your blog. Maybe you can put it on another page here on your blog if you don't want it on your main page?
Enjoy your day, I am planning a sewing day this weekend ;)
Oh I love this! Please please post. I want to finish things like this sooo bad. I just love how it turned out. The ribbon around it is perfect if you ask me.
ReplyDeleteThat is a supercute finish and I love the ruched ribbon too. You're not the only one saying how much ribbon it uses! I think it was RJ and Mary who said the same this week.
ReplyDeleteI can't shop at Hobbycraft for the same reasons I can't shop at Amazon LOL.
But I do have a lovely little haberdashery shop nearby.
It looks so Nice. Live yout idea
ReplyDeleteLove your idea.
ReplyDeleteI love this finish and the fabric and ribbon are great. I’d like to see a tutorial, especially because you did the finishing by hand and that’s how I do all my finishing.
ReplyDelete